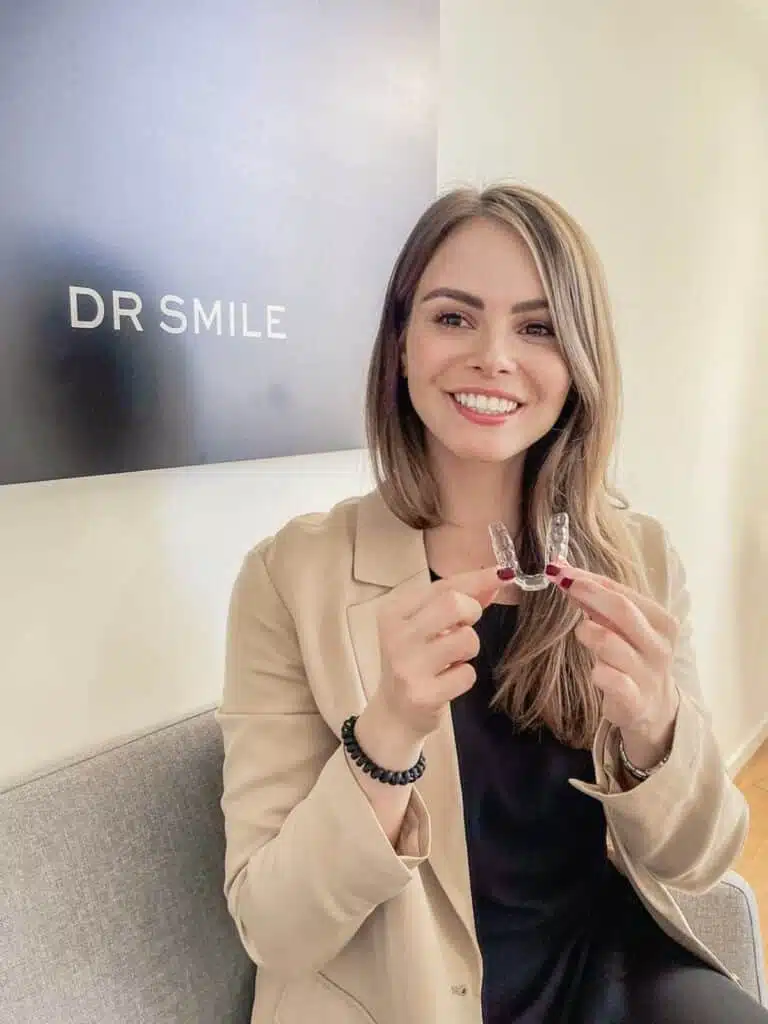
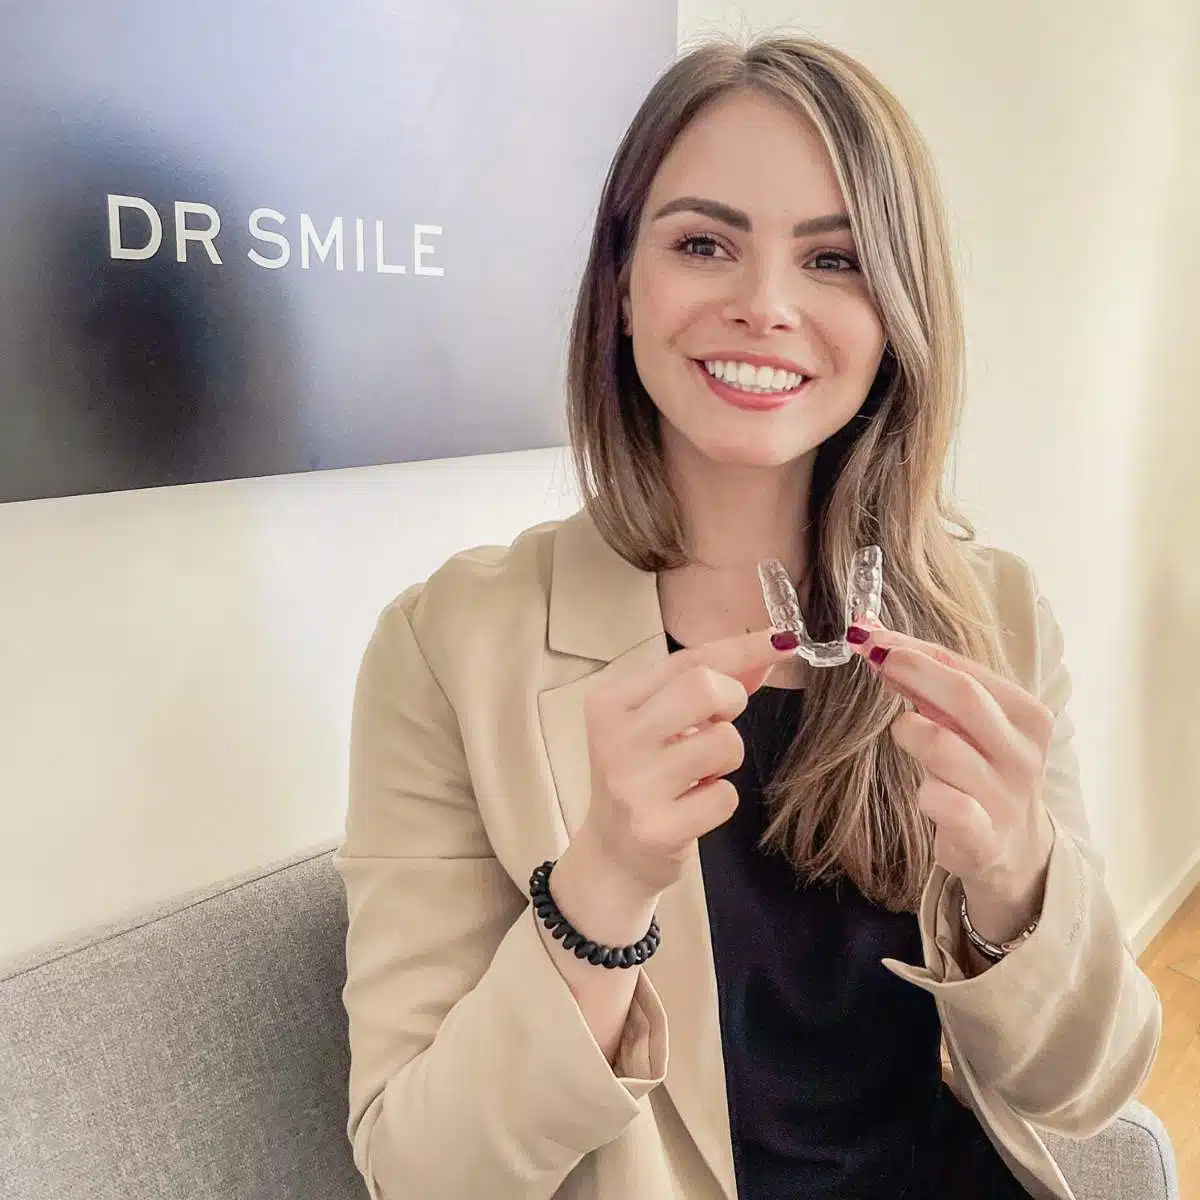
You wish to have your teeth straightened discreetly, but you are not sure if invisible dental trays are right for you? Here I share my previous aligner experiences with you step by step.
I went back and forth for quite a long time before I finally decided to have my teeth straightened with invisible aligners.
| Get 150 € discount on your dental correction! |

Book a consultation appointment now at a nearby DrSmile partner practice and find out if teeth straightening with aligners is right for you.
The appointment is completely non-binding and does not involve any costs.
With the code “THATSMILE150” you will receive 150 € discount on the treatment.
In the end, it was the positive aligner experiences that both my boyfriend and one of my best friends told me about.
While my friend “only” had a gap in her teeth closed, my friend’s teeth looked really terrible and I was extremely impressed with the result.
In our everyday life together, I also witnessed how the aligners became part of his life after only a few weeks of getting used to them and then didn’t bother him any more.
aligner experience: That is why I chose the treatment
I don’t have a very pronounced misalignment of my teeth or jaw, and my teeth have never negatively affected me health-wise or psychologically.
To be honest, I don’t think most people around me have even noticed my little “beauty flaw”.
Anyway, some of them were quite surprised when I told them about my plans.
In fact, it was always just that one crooked tooth that just continuously bothered me. My upper left incisor is quite crooked and whenever I look in the mirror or see myself smiling in a photo, it always sticks right out at me.
My lower front teeth are also slightly crooked, but this is hardly noticeable visually. So it was really just this little thing that I just didn’t want to come to terms with.
However, since I was not suffering (neither health-wise nor psychologically), fixed braces were never an option for me.
Because I had them in my mouth for two years in my teens. The idea of having to go back to work with wires and brackets as an adult woman was just not an option for me.
Then, when I worked as an online editor for a dental client for a few years and had to dig deeper and deeper into the topic of invisible braces, the idea solidified in my head.
In the end, however, it was the positive Aligner experiences in my environment that convinced me to book a free, no-obligation consultation appointment with the provider DrSmile.
My personal DrSmile experience – step by step through treatment
Aligner experience: This is how the consultation appointment went
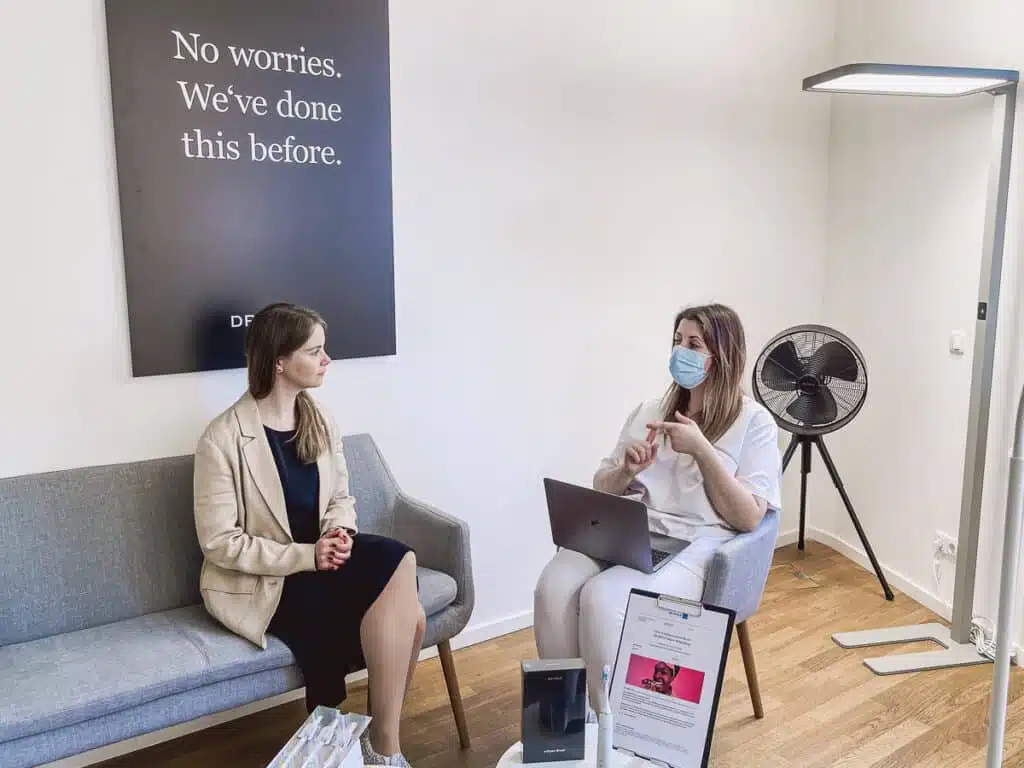
My initial appointment didn’t feel much different than a regular visit to a dental office. On a tablet, I first had to provide some data and answer a series of health questions.
Afterwards, I had a detailed consultation with a dental employee, who advised me very competently about the treatment and told me about the dental splint experiences of previous patients.
The whole thing was so detailed that I didn’t have to ask many questions at the end.
In the next step, the lady inserted a mouth spreader, with the help of which she could better photograph my teeth.
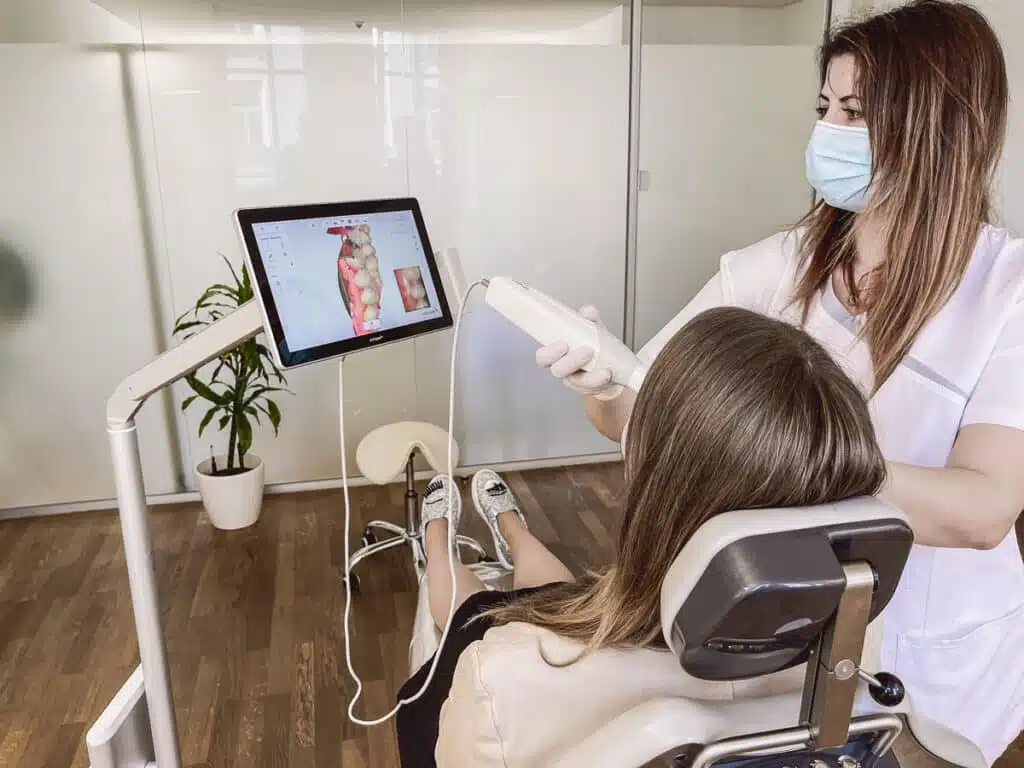
After that, the 3D scan was already on the agenda. Here, the dental employee kept running a small handheld device along my rows of teeth and scanning them from all sides.
Particularly exciting: I was even able to see live on the monitor how an exact image of my dentition was gradually built up on the screen.
After the 3D scan, I was joined by a dentist who checked my teeth and jaw and gums. She explained to me that teeth straightening with aligners is absolutely safe only with a healthy set of teeth.
Afterwards, I had another opportunity to ask further questions. After about 25 minutes, I was already done with my appointment.
A few days later my treatment plan was in the mailbox
Then a few days after my consultation appointment, the treatment plan fluttered into my email inbox. This is where I first learned what level of treatment my malocclusion was classified as. In my case it is level 2 of 3.
My personal treatment plan also included information about the duration of my teeth correction (5 months) and the number of aligners needed (10 aligners per jaw). Fortunately, I did not have to return to the office for IPR (approximal enamel reduction), Engager, or pretreatment.
Specifically, this means that from this point on, I can do my teeth straightening completely from home. Of course, this was very convenient for me, since I am quite busy due to my two jobs.
The treatment plan also contained a lot of information about the upcoming treatment and the aligners.
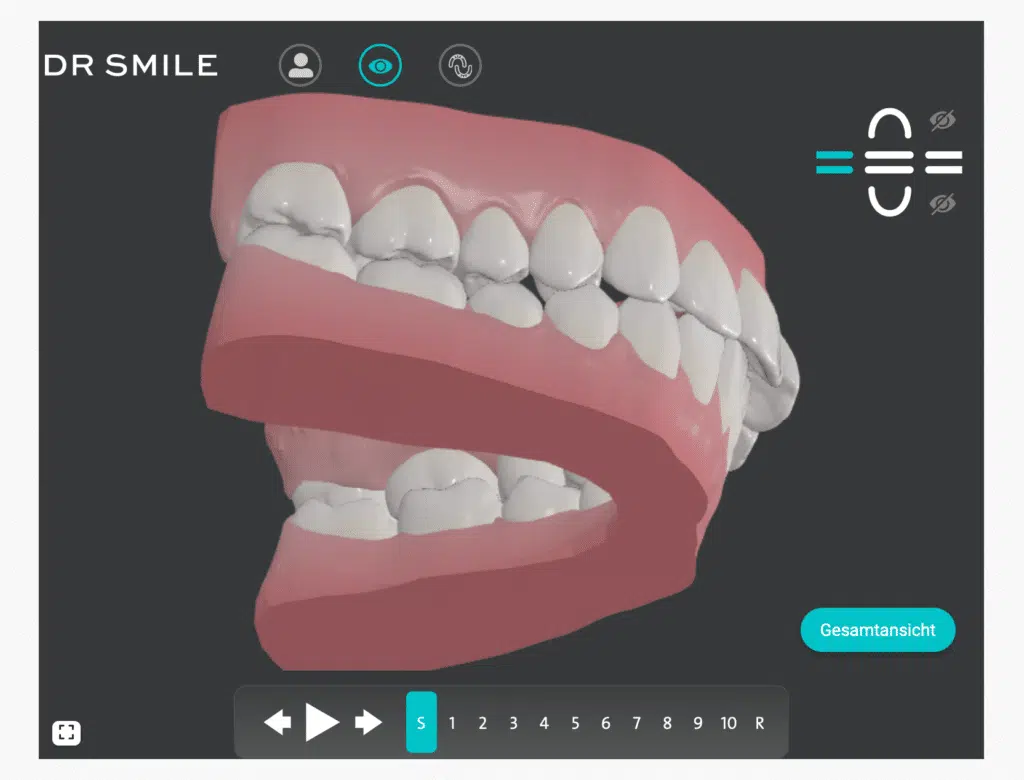
By clicking on the “Your 3D Simulation” button, I was able to see live and in color how my teeth will change over the course of treatment and even with each of my 10 aligners.
I then had to decide whether I wanted to book a basic treatment or a treatment with extras (e.g. fixed permanent retainer or monthly check-ups at the partner practice).
I opted for the cheapest Basic option because I didn’t want to choose directly between a permanent retainer (a permanently attached wire on the inside of the teeth) or removable retainers.
I would like to save this decision for later. First I want to see how well I get along with the aligners at all.
I also preferred to do without the monthly check-ups. I think with my small misalignment of the teeth, regular face-to-face appointments are not really necessary.
aligner experience: Finally, you can get started!
After selecting and confirming my desired plan, my aligners went into production. I then had to wait about two and a half weeks for them to arrive at my house.
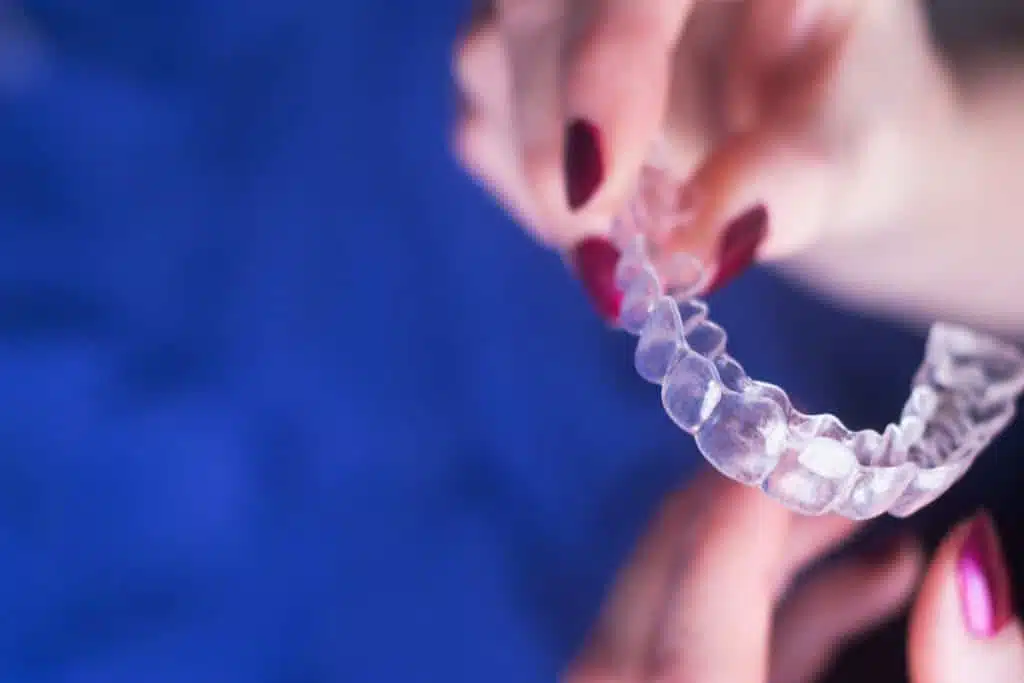
All ten pairs of aligners were sent to me at the same time – each pair was individually sealed and numbered. In addition, there were a lot of accessories and a detailed information brochure.
The packaging was extremely sturdy and the contents were packed to a high standard. In addition to the aligners, I received an aligner case for storage, a special aligner file, and Chewies (they help insert the aligners).
The package also included a mouth spreader. I can use that to take the detailed photos of my progress that I need to upload to the app on a regular basis.
| Get 150 € discount on your dental correction! |

Book a consultation appointment now at a nearby DrSmile partner practice and find out if teeth straightening with aligners is right for you.
The appointment is completely non-binding and does not involve any costs.
With the code “THATSMILE150” you will receive 150 € discount on the treatment.
An app will guide me through the treatment
Shortly after I confirmed my treatment plan, I was also sent the access data for the app, which I had previously downloaded to my phone.
In addition to the photos that need to be uploaded regularly for checking, the app is also used to contact support and the dentists or orthodontists who monitor my treatment.
By the way, the photos remain saved in the app, so I can also keep track of my progress myself and get a more accurate picture of my aligner experience.
The app also includes a calendar that shows me when it’s time for a new pair of rails, among other things.
Invisible aligner experience: My first two weeks with aligners
I chose my first day of vacation for the first insertion of the aligners. That was a good decision, because the first few days I actually had a few small problems.
The insertion worked directly without any problems. However, my gums and lips were very sensitive to the splints in my mouth for a few days.
I also mumbled a lot at first, had an extremely dry mouth and the foreign body feeling in my mouth was relatively unpleasant.
However, that subsided after a few days. Over time, I also stopped constantly playing with and sucking on the aligners with my tongue and palate, which had probably caused the dry mouth.
I actually had no pain from the beginning. After the first insertion I felt a little pressure on my teeth, but it was not really a problem.
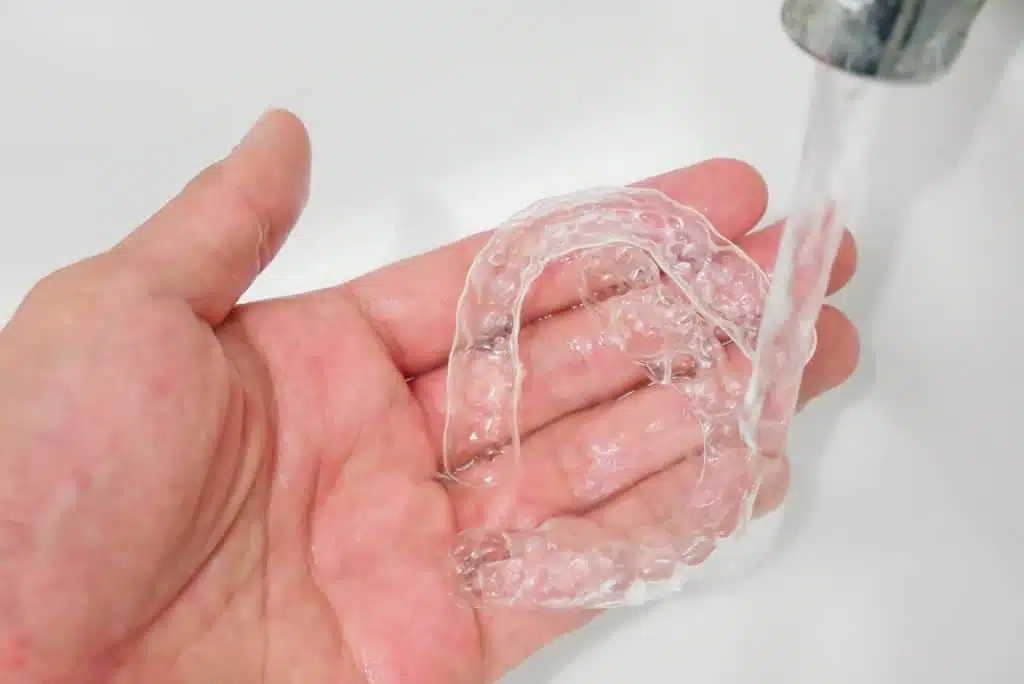
By the way, the removal is much more complicated at the beginning than the insertion. I can recommend that you first loosen the splints on the inside of the tooth by gently pushing your fingernails under the material.
Starts with one side and then moves to the other side. When the aligners are loose, you can reach around to the front of the teeth and carefully pull the aligners off your teeth.
After two weeks, I received a push notification from the app that it was time for a new pair of aligners. But then I decided to wear the first pair two days longer.
Because on vacation, we always took our time eating, so I didn’t always make it to the 22 hours allotted. An employee of my aligner provider gave me the tip to simply keep the pair of splints a little longer in this case.
aligner for correction: experience in everyday life
After the bumpy first few days, I got used to my aligners relatively quickly. I was actually quite amazed at how quickly you develop a new routine.
My aligner case for storage and a small bottle of mouthwash are now my constant companions. When I’m out and about all day, I always have a toothbrush with me, too.
You can find more tips on cleaning aligners here.
Before consuming coloring beverages (coffee, wine, etc.), I consistently remove the aligners – just as I do for meals.
I must confess, though, that I sometimes leave them in if I’m drinking a (non-black) tea or lemonade, for example. I then simply take the next opportunity a little later to take them out briefly, wash them off and rinse my teeth with mouthwash.
A few times it also happened to me that I forgot my jar for storage. In that case, I just wrapped them in clean paper towels and stored them safely in my bag.
Otherwise, the aligners do not restrict me any further in everyday life. At first, it took some getting used to and was a bit annoying to take them out before every meal.
In the meantime, however, I even see that as a plus point. Because since starting my treatment, I snack less, drink fewer sugary drinks, and have even lost a little weight.
A small conclusion to my Aligner experiences
Since I successfully completed the acclimation phase, my Aligner experience has actually been consistently positive.
I have no pain and the handling of the dental trays is easy for me. I also eat better (less snacks) and pay even more attention to my dental care than usual.
In addition to regular brushing, I also floss daily and rinse my teeth thoroughly with mouthwash several times a day. Even the dental assistant noticed this positively during my last dental cleaning.
| Get 150 € discount on your dental correction! |

Book a consultation appointment now at a nearby DrSmile partner practice and find out if teeth straightening with aligners is right for you.
The appointment is completely non-binding and does not involve any costs.
With the code “THATSMILE150” you will receive 150 € discount on the treatment.
FAQs on the topic of aligner splint experiences
Finally, we’ll answer a few frequently asked questions about teeth straightening trays and invisible braces experiences.
Aligner splint cost: How much do aligners cost?
The price of invisible aligners depends on the severity of the malocclusion. The prices of the cheapest suppliers start at about 1500 euros for very light misalignments. Upwards, aligner therapy can cost up to 6500 euros with the most expensive providers.
Are aligners effective?
Aligners are actually able to effectively correct misaligned teeth in a relatively short period of time. However, it is essential that the 22-hour wearing time and all instructions from the aligner provider are adhered to.
How long do aligners last?
Aligners generally last a very long time when properly cared for. However, they must be changed regularly (usually every two weeks) during the course of treatment, otherwise the tooth correction would stagnate.
Are aligners painful?
Pain very rarely occurs during treatment with aligners. However, a feeling of pressure after inserting a new splint is normal.

Leave a Reply